Community FM Radio Station Setup: From License to Transmitter Selection
A Complete Step-by-Step Guide for First-Time Broadcasters
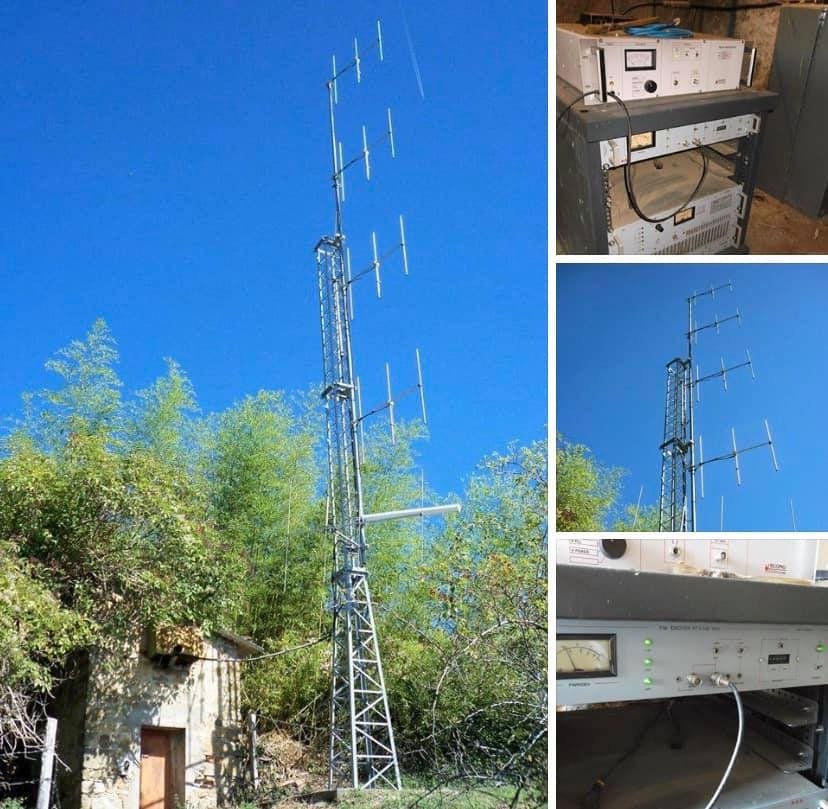
I’m an RF engineer at RS, and over the past 8 years I’ve helped set up more than 150 community FM radio stations worldwide—from small church broadcasters in rural Africa to campus radio stations in the Philippines and community networks in Mexico. Maybe you’re a school administrator wanting student radio, a church leader planning faith-based broadcasting, or a community organizer looking to serve your local area.
This guide walks you through the complete process from initial planning through equipment selection. I’ll show you the practical steps that matter, help you avoid expensive mistakes, and explain how to choose the right transmitter for your specific situation.
Why Community FM Radio Still Matters
Before diving into technical details, let’s clarify why community FM broadcasting remains valuable in 2025:
Local Information Control: You broadcast exactly what your community needs—local news, weather, events, emergency alerts—without depending on distant commercial stations that ignore local issues.
Cultural and Educational Impact:
- Schools: Student journalism, educational programs, sports broadcasts
- Religious Organizations: Worship services, spiritual teaching, community outreach
- Community Groups: Local music, cultural programming, civic engagement
Practical Applications I’ve Deployed:
- Drive-in cinema audio (replacing old speaker posts)
- Farm-to-market price information networks
- Emergency broadcast systems for rural communities
- Campus information and entertainment
Cost-Effective Reach: Unlike internet streaming requiring data plans, FM radio reaches anyone with a $5 receiver. In developing regions and rural areas, this accessibility advantage is enormous.
The key insight: Different applications require different technical specifications. A campus radio serving 2 km radius needs vastly different equipment than a community station covering 20 km. Understanding your specific needs prevents overspending on unnecessary power or under-investing in inadequate coverage.
Step 1: Understanding Licensing and Regulations
This is the first step, not an afterthought. I’ve seen groups spend thousands on equipment before checking local regulations, only to discover they can’t legally operate.
Pre-Application Research Checklist
Find Your Regulatory Authority:
- USA: FCC (Federal Communications Commission) – handles LPFM (Low Power FM) licenses
- Philippines: NTC (National Telecommunications Commission)
- Kenya/Nigeria/Tanzania: National communications authorities
- Mexico: IFT (Federal Telecommunications Institute)
- Most countries: Search "[your country] radio broadcasting license"
Key Questions to Answer:
-
Does your country allow community/low-power FM?
- Some countries have specific community broadcasting categories
- Others require full commercial licenses (expensive, complex)
- A few have unlicensed low-power exemptions (<1W typically)
-
What are the power limitations?
- LPFM in USA: typically 10-100W ERP (Effective Radiated Power)
- Many countries: 50-300W limits for community licenses
- Educational institutions: often get higher power allowances
-
Frequency coordination requirements:
- You can’t just pick any frequency—you must avoid interference with existing stations
- Minimum spacing rules (typically 800 kHz from other stations in same area)
- Application process may take 3-12 months
-
Technical restrictions:
- Maximum antenna height (often tied to power level)
- Coverage area limits
- Transmitter location restrictions
- Audio quality standards (frequency response, modulation limits)
Practical Licensing Tips from Field Experience
Start early: Begin license application 6-12 months before planned launch. Bureaucratic delays are normal.
Professional frequency coordination: If required in your region, hire a frequency coordination service ($200-800). They analyze existing stations, terrain, and find clear frequencies. This prevents application rejection.
Document your community benefit: Applications asking about programming and community service aren’t bureaucratic busywork—they matter. Clearly explain how your station serves public interest.
Budget for application fees: Vary widely by country:
- Some developing nations: $50-200
- USA LPFM: $0 application fee (but engineering costs)
- Commercial frequencies: $1000-5000+
Common mistake I see: Applying for maximum allowed power "just in case" without actual need. This complicates applications and may trigger additional requirements. Apply for power that genuinely matches your coverage goals.
Step 2: Planning Your Coverage Area
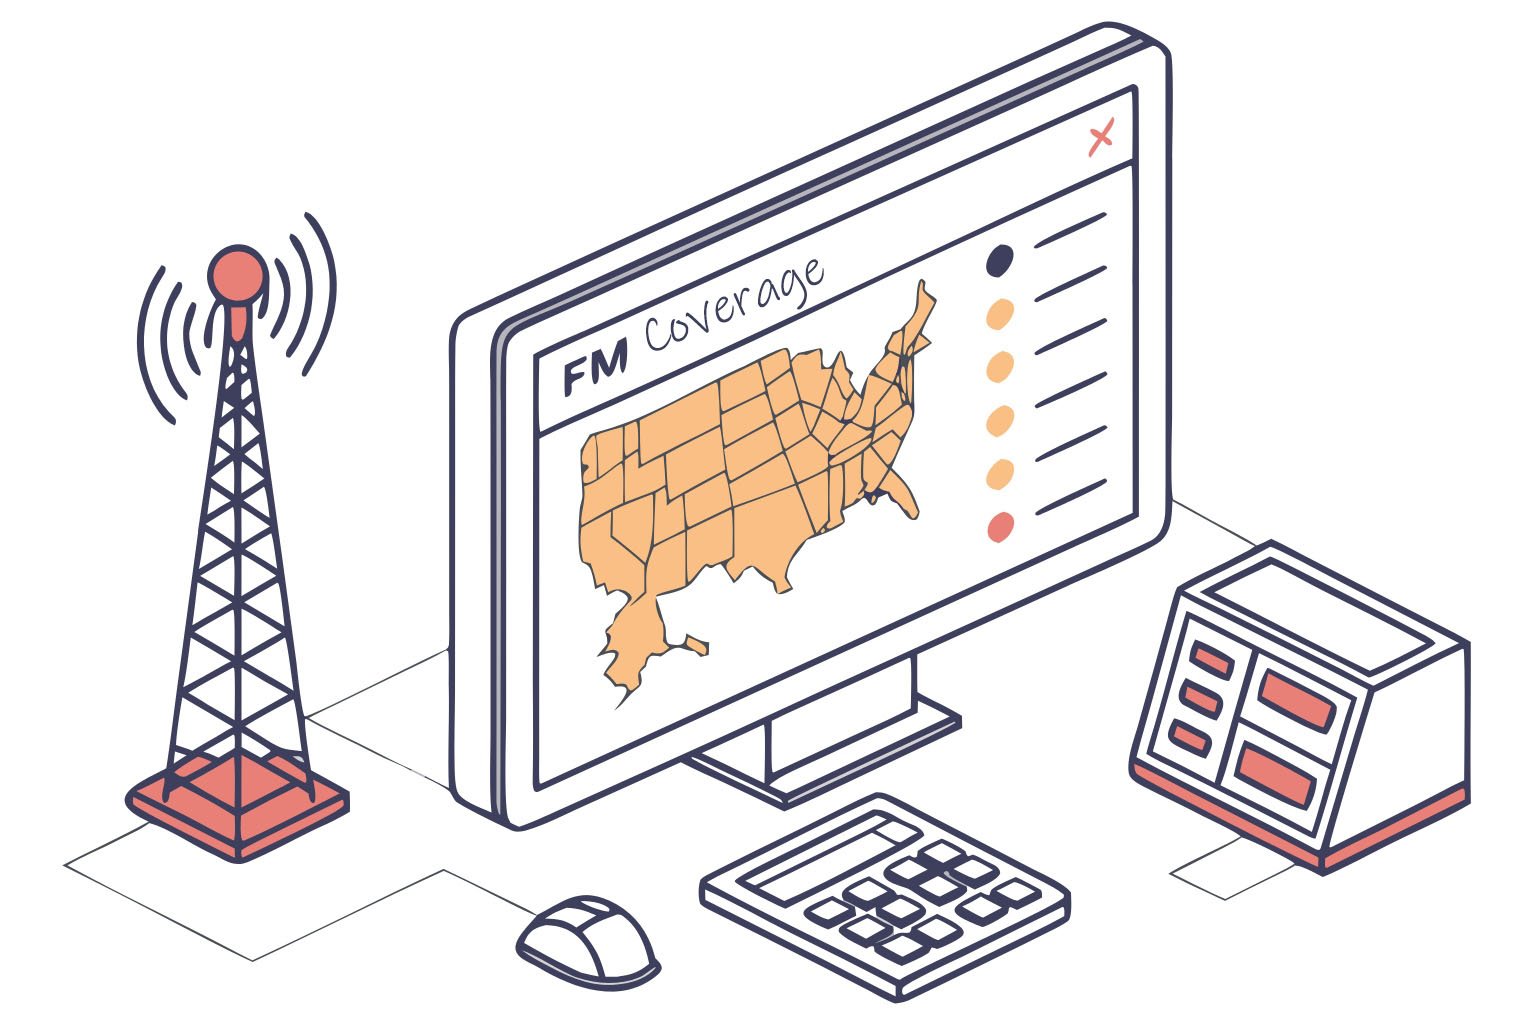
Before selecting equipment, define your coverage target. This determines transmitter power, antenna requirements, and overall budget.
Coverage Planning Framework
Question 1: Who needs to receive your signal?
Map your target audience geographically:
- Single building (school, hospital, shopping mall)
- Neighborhood (1-3 km radius)
- Town or district (5-15 km radius)
- County or regional (15-30+ km radius)
Question 2: What terrain challenges exist?
Terrain dramatically affects coverage:
- Flat terrain: Predictable coverage, easier planning
- Hills/mountains: Blocks signals, creates shadow zones
- Urban areas: Buildings reduce effective range
- Rural open areas: Maximum coverage for given power
Question 3: What reception quality do you need?
- Primary coverage: Strong, reliable signal (outdoor/indoor/mobile reception)
- Secondary coverage: Usable outdoors and in vehicles (not guaranteed indoors)
Simplified Power-to-Coverage Guide
Here’s a practical reference based on real installations with 30m antenna height on moderate terrain:
| Transmitter Power | Primary Coverage Radius | Typical Applications | Approximate Cost |
|---|---|---|---|
| 7-15W | 1-3 km | Single campus, drive-in cinema, church grounds | $249-350 |
| 30-50W | 3-5 km | Large campus, neighborhood, small town | $380-490 |
| 100W | 7-12 km | Town, suburban area, rural community | $650 |
| 300W | 15-20 km | City district, multiple towns | $1,340 |
| 500W | 20-25 km | County coverage, regional community | $1,560 |
| 1000W | 25-30 km | Multi-county, large service area | $1,890 |
Important caveats:
- These ranges assume 30m antenna height above average terrain
- Urban environments reduce range 30-50%
- Mountainous terrain creates unpredictable coverage
- Better antenna positioning can increase range significantly
Real example: I worked with a university wanting "campus coverage." Initial request: 300W transmitter for 2 km radius (massive overkill). After site survey, we installed 50W transmitter with well-positioned antenna on tallest building. Result: excellent coverage across entire campus plus 2 km into surrounding community. They saved $850 on equipment and reduced license complexity.
Step 3: Transmitter Selection—The Critical Decision
This is where many new broadcasters feel overwhelmed. Let me break down the selection logic into manageable factors.
Factor 1: Power Level (Already Partially Determined)
Based on your coverage planning above, you know approximate power requirement. But consider:
Don’t overestimate needs: More power costs more (purchase price, electricity, cooling, licensing complexity). I’ve seen stations operating at 50% capacity because they bought oversized equipment.
Plan for efficiency: Modern transmitters (like RS series) achieve 60-65% efficiency at rated power. Running significantly below rated power reduces efficiency and wastes electricity.
Consider growth: If you might expand coverage in 2-3 years, buy next power level up. Upgrading later costs more than buying adequate power initially.
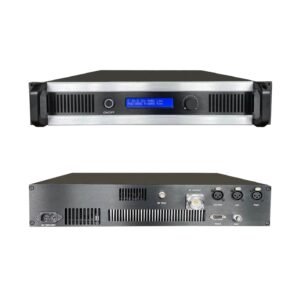
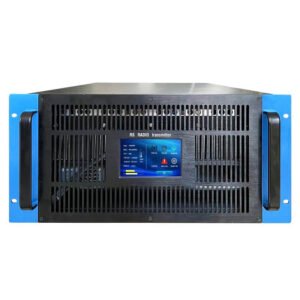
Factor 2: Transmitter Type and Configuration
All-in-One vs. Modular Systems
| Configuration | Pros | Cons | Best For |
|---|---|---|---|
| All-in-one transmitter | Simple setup, lower cost, less space | Limited upgradeability | Small stations, fixed installations |
| Exciter + Amplifier | Flexible power scaling, easier repair | More complex, higher cost | Professional operations, growth plans |
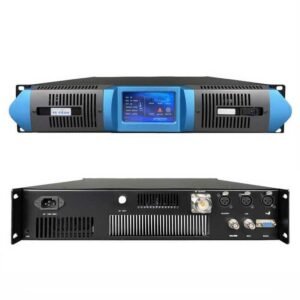
For community stations, all-in-one transmitters are usually the right choice. They integrate:
- RF exciter (generates FM signal)
- Power amplifier
- Audio input processing
- Control/metering
- Protection circuits
Factor 3: Features That Actually Matter
Essential Features (every transmitter should have):
- Frequency stability: ±500 Hz or better (prevents drift off-frequency)
- Stereo capability: Even if starting mono, stereo option is standard
- Power output metering: Forward and reflected power displays
- Over-temperature protection: Auto shutdown prevents damage
- SWR protection: Shuts down if antenna connection fails
- Multiple audio inputs: At least 2 inputs (XLR, RCA, or TRS)
Valuable Features (worth paying extra):
- LCD display with menu system: Easier setup and monitoring ($50-100 extra value)
- Remote control capability: Network or RS-232 interface for off-site monitoring ($100-200 value)
- Built-in RDS encoder: Displays station name and song info on receivers ($150-300 value)
- Built-in audio limiter: Prevents overmodulation, protects your license ($100-150 value)
Optional Features (evaluate based on needs):
- Advanced RDS features (traffic alerts, automation integration)
- Redundant power supplies
- GPS frequency reference (extreme stability)
Factor 4: Reliability and Support
Build Quality Indicators:
- Cooling design: Look for efficient heat sink design and adequate ventilation
- Component quality: Professional-grade components last 10+ years
- Protection systems: Multiple safety cutoffs prevent cascade failures
- Power supply: Regulated, filtered, protected power supplies
Why this matters: A church broadcaster in Nigeria I work with runs their 100W transmitter 24/7. It’s been operating continuously for 4 years with zero failures. Compare this to cheap transmitters requiring repair every 6-12 months. Initial savings disappear quickly.
Support Considerations:
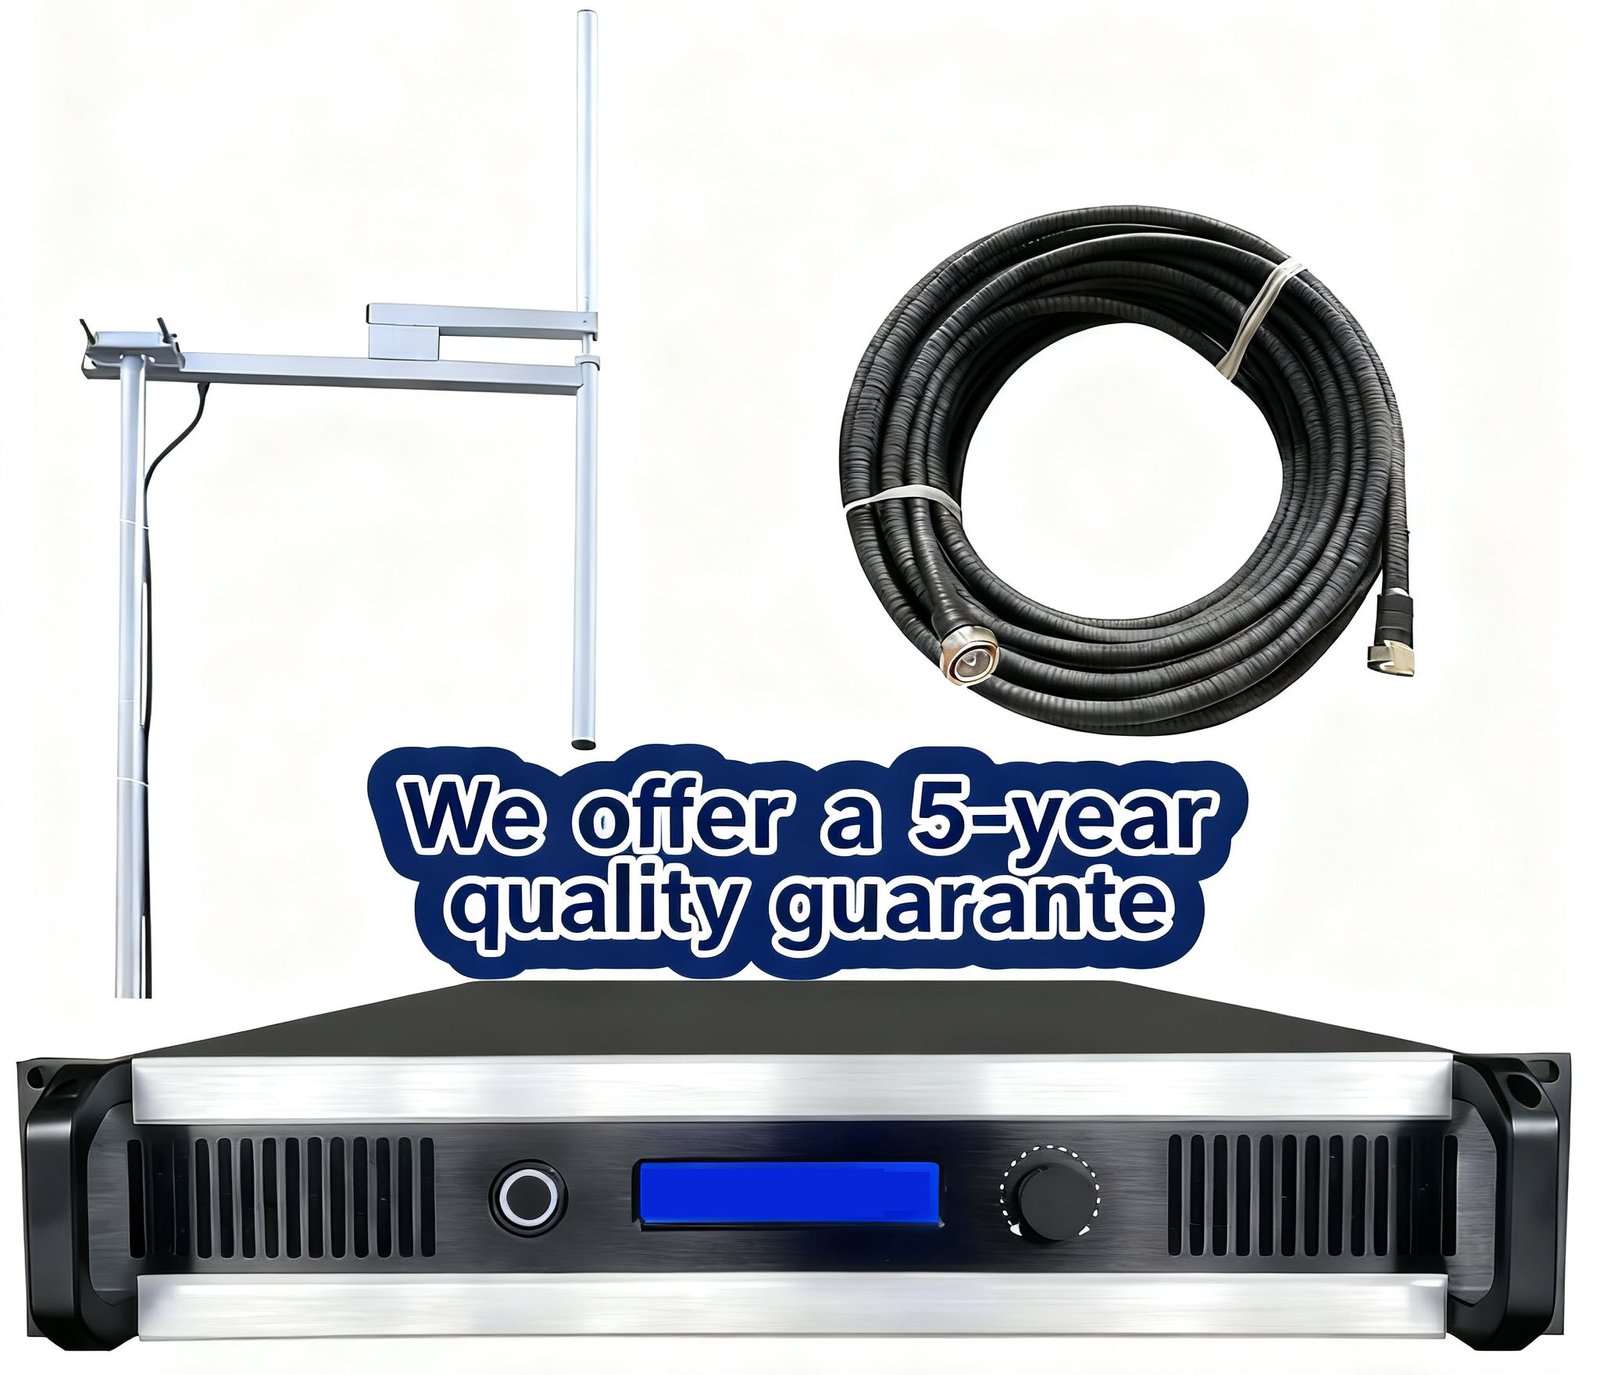
- Warranty length: 5-year warranty (like RS offers) indicates manufacturer confidence
- Technical support availability: WhatsApp, email, phone support in your language
- Replacement parts: Can you get spare parts? Where are they shipped from?
- Documentation quality: Clear manual in understandable English (or your language)
Real cost of unreliable equipment: A community station in Kenya bought $400 cheap transmitter online. Failed after 8 months. Replacement took 6 weeks to ship. During downtime, they lost listener base and community trust. A $650 reliable transmitter would have cost less long-term.
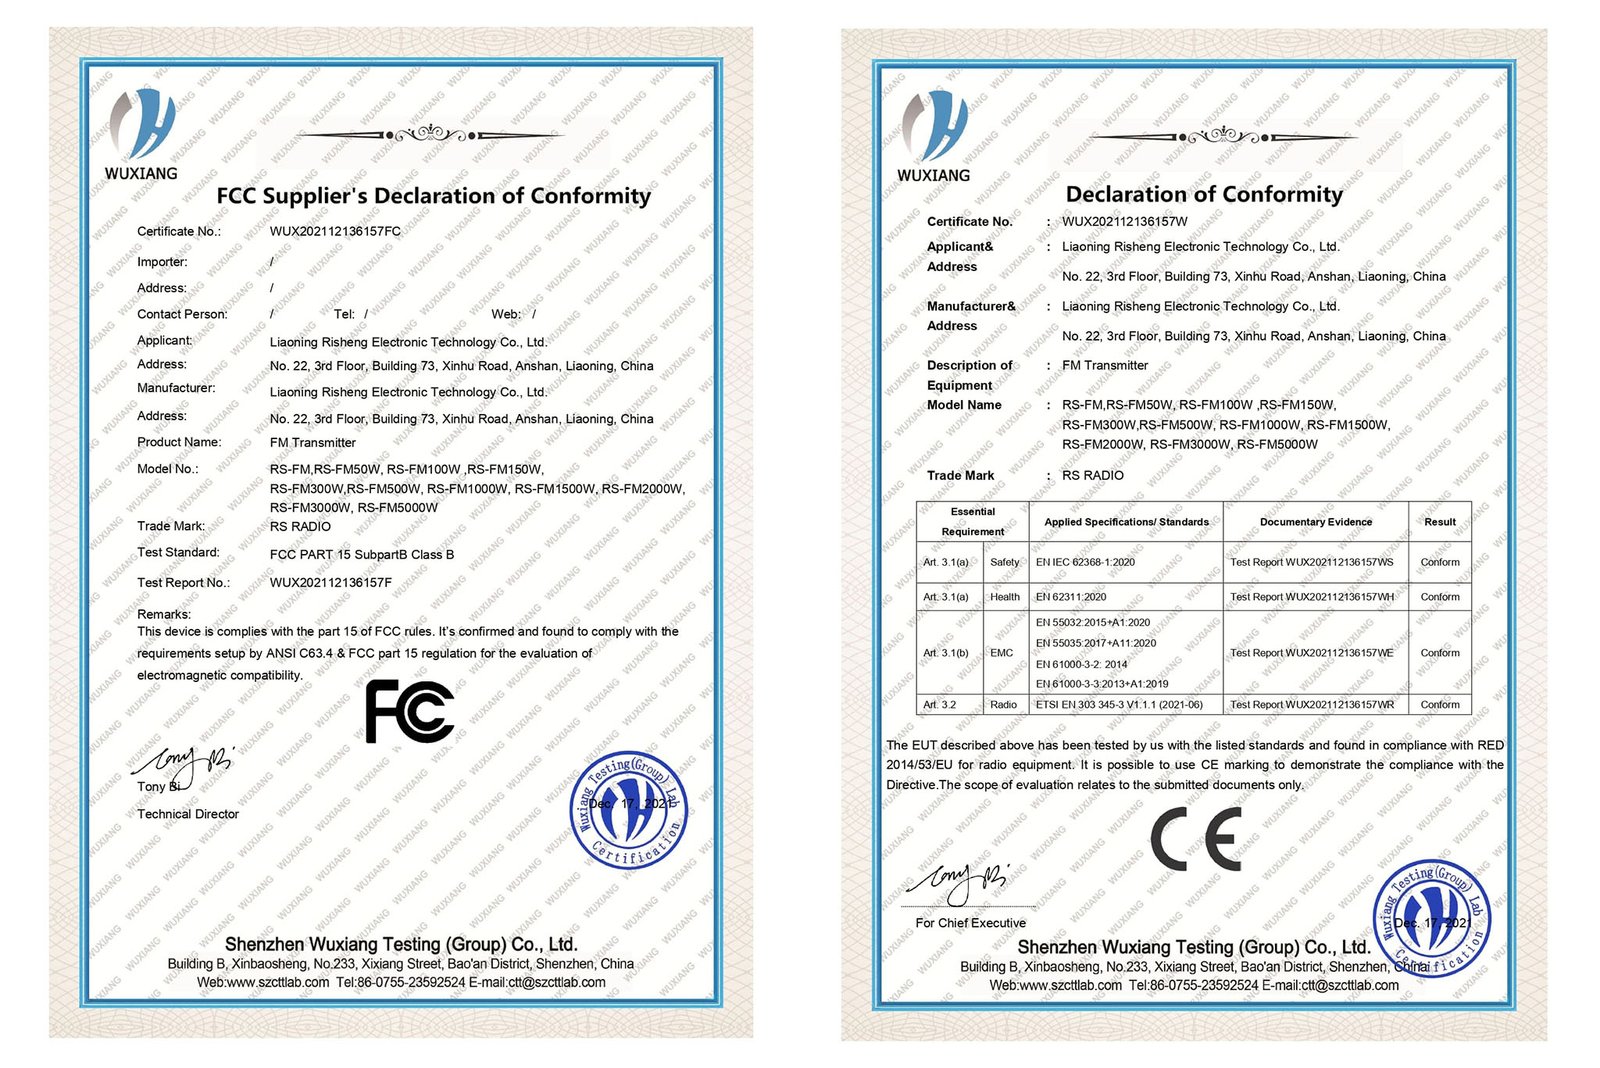
Factor 5: Certification and Compliance
Check transmitter has relevant certifications:
- FCC certification (USA operations)
- CE marking (Europe and many developing countries accept)
- Frequency range match: Ensure transmitter covers your licensed frequency
Why certifications matter:
- Regulatory compliance (some jurisdictions require certified equipment)
- Quality assurance (certification requires meeting technical standards)
- Insurance and liability (certified equipment reduces legal risk)
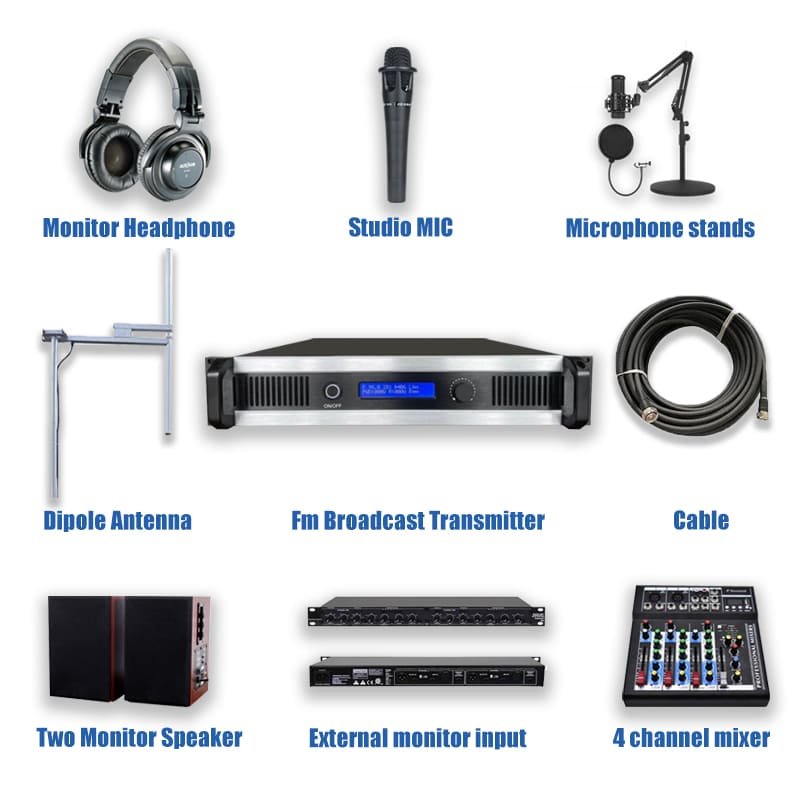
Step 4: Complete System Planning—Beyond the Transmitter
A transmitter alone doesn’t make a radio station. Here’s the complete system you need:
The Complete Broadcast Chain
Audio Source → Audio Processing → Transmitter → Antenna → Listeners
Let me explain each component:
1. Audio Source and Mixing
What you need:
- Microphones: Dynamic mics for voice ($50-150 each)
- Audio mixer: Combines mic, music, phone calls (4-8 channels, $150-400)
- Playback devices: Computer with automation software, CD player, phone connection
- Cables: Balanced XLR cables for professional quality ($5-15 per cable)
Budget: $400-1200 depending on complexity
2. Audio Processing (Optional but Recommended)
- Basic audio processor: Compressor/limiter prevents overmodulation ($150-350)
- Professional processor: Multiband processing, stereo enhancement, loudness optimization ($500-1500)
Why it matters: Processed audio sounds significantly better and louder on receiver. Your station competes with professional stations—processing levels the playing field.
Budget: $150-500 (basic), $500-1500 (professional)
3. Transmitter (already discussed)
Budget: $249-1890 depending on power
4. Transmission Line (Coaxial Cable)
Critical component often underestimated:
| Cable Type | Loss per 30m | Good For | Cost per Meter |
|---|---|---|---|
| RG-8 | 2.1 dB (38% power loss!) | <100W, short runs | $1.20 |
| LMR-400 | 1.2 dB (24% power loss) | 100-500W, recommended | $2.50 |
| 1/2" Hardline | 0.6 dB (13% power loss) | >500W, professional | $6.00 |
Key point: For 100W transmitter with 30m of RG-8 cable, only 62W reaches antenna. Same transmitter with LMR-400 delivers 76W—22% more coverage from better cable alone.
Budget: $50-300 depending on cable type and length
5. Antenna System
- Antenna: Match to transmitter power and coverage needs ($60-600)
- Mounting hardware: Mast, brackets, guy wires ($100-400)
- Lightning protection: Coax arrestor, ground rod, grounding ($80-200)
Budget: $240-1200
Installation Site Requirements
Location Selection:
- Height advantage: Antenna height matters more than transmitter power
- Electrical power: Stable AC power, dedicated circuit recommended
- Accessibility: Regular maintenance access needed
- Security: Equipment protection from theft/vandalism
- Climate control: Indoor installation preferred; outdoor requires weatherproof enclosure
Electrical Requirements:
- Dedicated circuit: Prevents interference from other equipment
- Voltage stability: ±10% tolerance maximum
- Grounding: Proper earth ground for safety and performance
- Backup power: UPS for clean shutdown during outages (optional but recommended)
Safety and Regulations:
- RF exposure: Maintain safe distance from antenna (depends on power)
- Tower/antenna codes: Building permits may be required
- Fire safety: Adequate ventilation, fire extinguisher access
- Insurance: Notify insurance company about broadcasting equipment
Step 5: Budget Planning and Total Cost of Ownership
Let me break down realistic budgets for different station scales:
Small Campus/Church Station (7-50W, 1-5 km coverage)
Equipment Costs:
- Transmitter: $249-490
- Antenna system: $240-400
- Audio mixer: $150-300
- Basic audio processor: $150-250
- Cables and connectors: $100-150
- Total Equipment: $890-1590
Setup Costs:
- License application: $0-500 (varies by country)
- Installation labor: $200-600 (or DIY)
- Total Setup: $200-1100
Grand Total: $1,090-2,690
Medium Community Station (100-300W, 5-20 km coverage)
Equipment Costs:
- Transmitter: $650-1340
- Antenna system: $400-800
- Audio mixer: $300-500
- Professional audio processor: $350-600
- Quality cables: $150-250
- Remote monitoring: $200-400
- Total Equipment: $2,050-3,890
Setup Costs:
- License application: $200-1000
- Professional installation: $600-1500
- Site preparation: $300-800
- Total Setup: $1,100-3,300
Grand Total: $3,150-7,190
Operating Costs (Annual)
Don’t forget ongoing expenses:
| Cost Category | Small Station | Medium Station |
|---|---|---|
| Electricity | $50-150 | $150-400 |
| Internet (if using) | $240-600 | $240-600 |
| License renewal | $0-200 | $100-500 |
| Maintenance/repairs | $100-300 | $200-500 |
| Annual Total | $390-1,250 | $690-2,000 |
Cost-Saving Insight: Higher-quality equipment reduces maintenance costs. A reliable transmitter with 5-year warranty costs $200-300 more initially but saves $500-1000 in repairs and downtime over 5 years.
Step 6: Supplier Selection—Beyond Just Price
What to Evaluate in Equipment Suppliers:
Technical Support Quality:
- Response time (hours vs. days)
- Communication channels (WhatsApp, email, phone)
- Language support (can you communicate effectively?)
- Remote troubleshooting capability
Delivery and Logistics:
- Shipping time to your location
- Customs handling experience
- Package insurance and tracking
- Replacement policy for shipping damage
Post-Purchase Support:
- Setup assistance (installation guides, videos, remote support)
- Warranty claims process (how easy to get repairs/replacements?)
- Spare parts availability
- Software/firmware updates
Real Example: A school in Tanzania ordered transmitter from unknown seller on Alibaba. Equipment arrived damaged, seller unresponsive, customs charges unexpected. Total loss: $420. They then ordered from established supplier (RS) with clear shipping terms, insurance, and support. Equipment arrived intact, installation support via WhatsApp, operational in 3 days.
Why We Built RS’s Support System This Way:
- WhatsApp engineering support group: Real-time help in your timezone
- 5-year warranty: We stand behind quality
- Free delivery to most countries: No surprise shipping costs
- Replacement parts stocked: Fast resolution of issues
I’m not just selling—I’m explaining what matters because I’ve seen what happens when support fails.
Next Steps: Let’s Plan Your Station
You now understand the complete process from licensing through equipment selection. But maybe you still have questions specific to your situation:
- What power level do I really need for my coverage area?
- Which antenna is right for my terrain and budget?
- How do I handle licensing in [your country]?
- What’s the complete cost for my specific scenario?
Here’s how I can help:
Send me this information, and I’ll provide personalized recommendations:
- Your Location: Country/region (affects licensing and shipping)
- Coverage Goal: Area you need to cover (km radius or specific locations)
- Application: Campus radio, church, community, drive-in, etc.
- Budget Range: Helps me recommend appropriate equipment level
- Timeline: When do you want to be operational?
- Current Status: Already licensed, application in progress, or just starting?
Contact Methods:
- WhatsApp: +8618842036851
- Email: sales@fmradiotx.com
- Website: https://fmradiotx.com/
I respond within 24 hours with specific power recommendations, equipment suggestions, complete system configuration, and realistic budget estimates.
Common Questions I Get from New Broadcasters
Q: Can I start with low power and upgrade later?
A: Yes, but consider this: If you’ll need higher power within 2 years, buy it now. Upgrading costs more (new transmitter purchase + selling old unit at loss) than buying adequate power initially. However, if genuinely uncertain about long-term needs, starting smaller is reasonable.
Q: Do I need professional installation or can I do it myself?
A: Depends on complexity. Small systems (15-50W, simple antenna) are DIY-friendly with good instructions. Larger systems (>100W, tower installations) benefit from professional installation ensuring safety and optimal performance. We provide detailed installation guides and remote support for DIY installations.
Q: How long does equipment last?
A: Quality transmitters last 10-15+ years with basic maintenance. I have RS transmitters operating continuously since 2016 with zero major failures. Cheap equipment might last 1-3 years. The initial price difference ($200-300) is small compared to replacement costs and downtime.
Q: What’s the most common mistake new broadcasters make?
A: Underestimating antenna importance. They buy adequate transmitter but cheap antenna and poor cable. Result: disappointing coverage. Invest 40% of budget in transmitter, 40% in antenna system (including quality cable), 20% in audio equipment. This balance delivers best results.
Q: Can I broadcast music, or do I need licenses?
A: This is separate from broadcast licensing. Playing commercial music requires music licensing (ASCAP, BMI in USA; similar organizations elsewhere). Costs vary by country and station size. Factor this into budget if playing copyrighted music. Talk, educational content, and royalty-free music don’t require music licenses.
Final Thoughts: Build It Right the First Time
I’ve helped stations ranging from 7W campus radio to 5000W regional broadcasters. The successful ones share common traits:
- They plan thoroughly before buying equipment
- They invest in quality components, not just the cheapest option
- They choose suppliers offering real support, not just sellers
- They start legally with proper licensing
- They think long-term, not just initial costs
Your community FM station can serve your audience reliably for 10+ years if built on solid foundation. Take time to plan properly, choose appropriate equipment, and work with suppliers who support your success beyond just making a sale.
I’m here to help make your community broadcasting vision a reality. Reach out with your specific situation, and let’s plan your station together.